


So I made up my own envelope instructions and will post them here. This may have been done elsewhere but I couldn't find it.
These envelopes are for cards made from 1/2 an 8.5x11 sheet of cardstock. So the cards would be 4.25x5.5. If your cards are a different size you are going to need to figure out adjustments.
(Click on pictures to see them full size... part of them is cut off)
Materials:
paper trimmer
paper to make envelopes
quick dry paper glue
ruler
bone folder (optional)
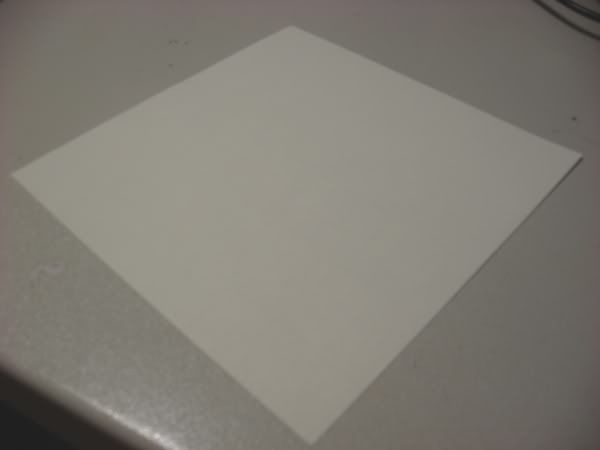
Step 1. Use the paper trimmer to cut your paper 8.5 inches square.
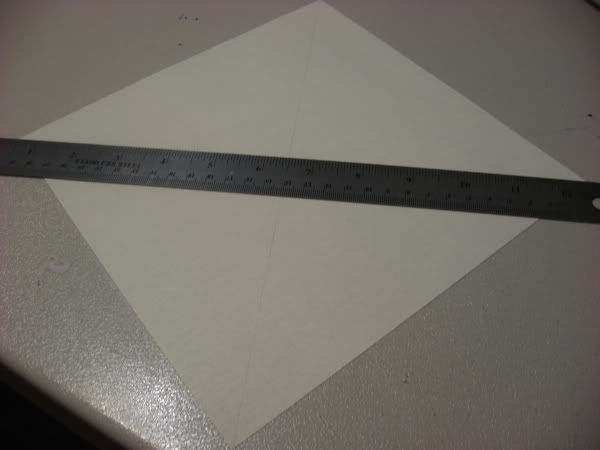
Step 2. Use ruler to draw light pencil lines from corners to corners, making a big X. These lines will help you keep folds centered.
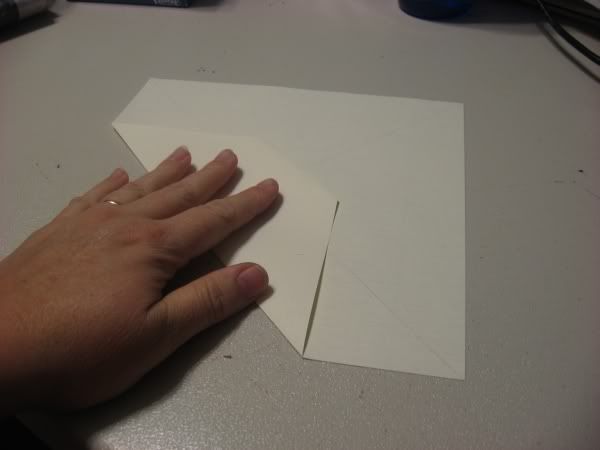
Step 3. All of my folding is guesstimates, sorry. But the first fold I do is a corner, and I fold it about an inch or so, lining the corner point along the pencil line.
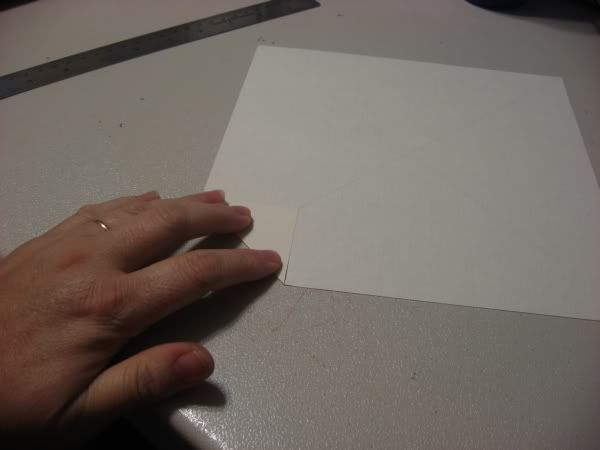
Step 4. then I fold that same end up again, this time to have the top edge about an inch above the CENTER of the paper (where the lines meet from the X you drew)
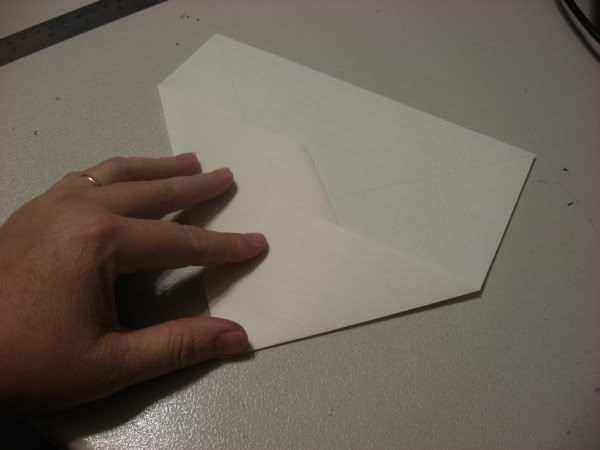
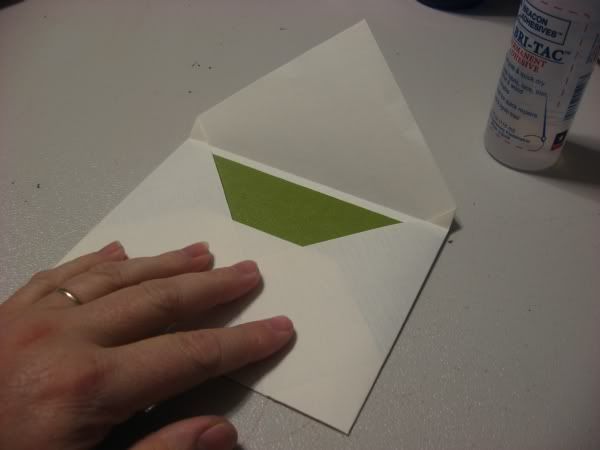
Step 5. then I fold in one of the side corners, and the point is just barely past the center... maybe about 1/8 inch or a hair more. If your cards are thick from embellishments, you might want to test periodically to make sure there's room, but this does leave some room for some embellishment or a letter/photos tucked into the card.
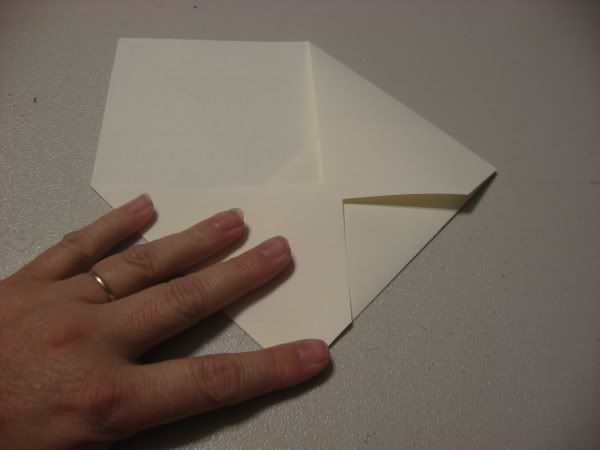
Step 6. Fold in the other side the same way. Now is a good time to test the fit if you are worried about the card being thick.
Step 7. at this point, if you want you can open up the envie and erase the guide lines you drew as you won't need them anymore. After erasing, I refold it and I used quick-drying paper glue to glue down the sides
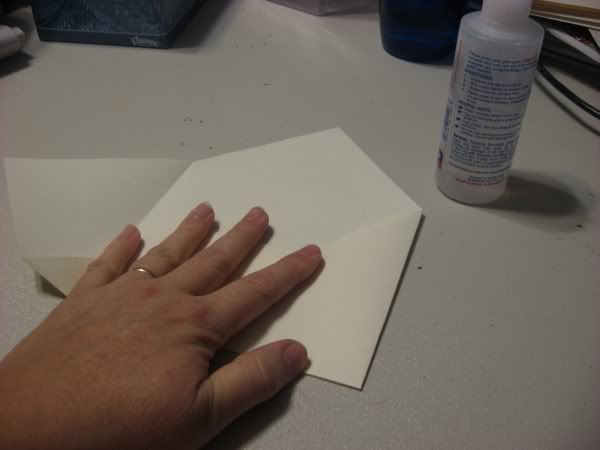
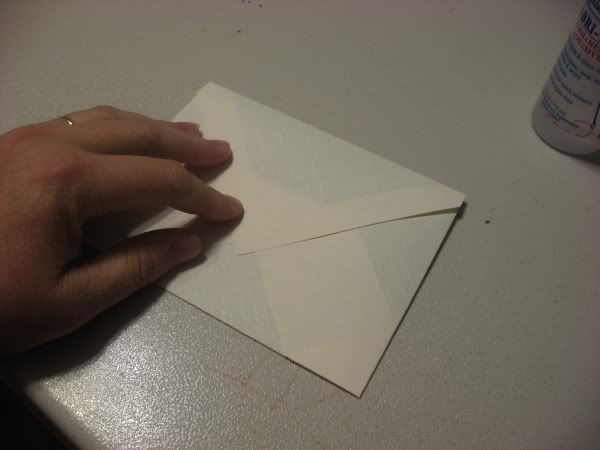
Step 8. after both sides are glued down, then fold down the top to make your crease.
Step 9. When you are ready to seal, use your quick-dry glue to seal the flap down. Before sealing cards inside, if you are so inclined, you could stamp or otherwise decorate the envelopes a little.
Enjoy!


What an excellent idea. Thanks for the tutorial! Now I have a solution to my envie problem.
ReplyDeleteCindy
this is awesome! I am always looking for smaller envelopes and I believe this one is just the right size!! thanks for the cool tut hun!!
ReplyDelete